
Cloth Diapering 101: Where to Begin and How to Cloth Diaper in Ten Easy Steps
Once you know you want to try cloth diapering, where do you begin? How do you cloth diaper? First, if you haven’t gone through my top reasons for why I chose to cloth diaper, do so! You also may want to get familiar with the Top Ten Essentials you will need to cloth diaper.
Ok, you have your pile of cloth diapers and your storage cart is stocked and ready to go! Whether you are entering this process before your little wonder arrives or starting somewhere after their arrival, anytime is a good time!


1. Pre-wash All Cloth Diapers and Wipes
Per many cloth diaper brand’s instructions you want to pre-wash your diapers on a hot wash setting so you make sure they are fresh, clean and ready for their wonderful cloth diapering life, though it will have its ups and downs -haha! Once washed, hang your cloth diapers outside or inside to air dry on your drying rack.
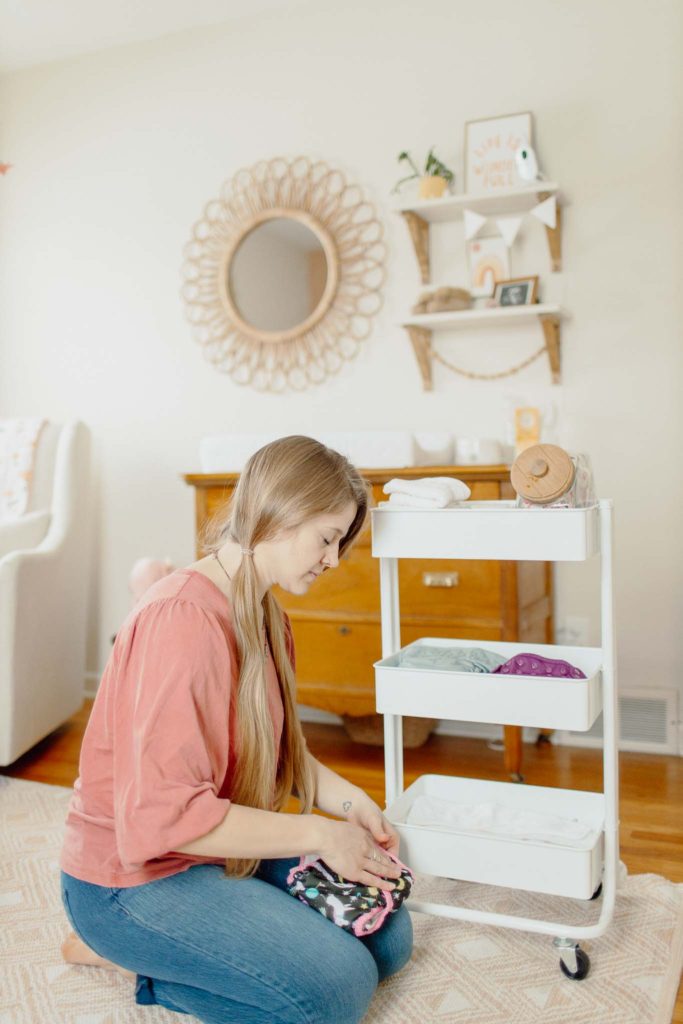
2. Stock Your Storage Cart
Put away your clean, dry diapers in any fashion. Make it easy on yourself! At first I stuffed and rolled them all nice and neat into my storage cart and maybe you will too, but now I don’t pre-stuff inserts into my diapers nor do I fold them neatly. I just pile the diapers into my storage cart and as baby needs a diaper change I grab one, stuff the insert in (which gives her booty time to dry) and put the diaper on. Done!
Also get your cart or diaper area ready with your large glass jar of reusable wipes in their soap and water mix and diaper rash cream.
3. Get Your Diaper Pail Set with Your Reusable Pail Liner
Simply put your pail liner into your diaper pail like any trash bag and trash can. Make sure the water-resistant plastic side is facing in.
4. Install a Diaper Sprayer Onto Your Toilet or Have Cloth Diaper Liners On Hand*
You won’t need either of these until baby starts eating solid foods and your washer can no longer wash the poo out. Fun Fact: Breastmilk or Formula poo’s wash completely out in the washer, no need to spray off or dump the poo in the toilet. The sprayer installment is pretty easy per instructions. If you bought a sprayer splatter shield, put that by the toilet as well.
*You can wait to do this step like we did until solid foods are introduced around 6 months or maybe you don’t want to use either of these and will just swish your dirty diaper in the toilet water to get most poo off – Great!
Ok, you’re set up is all ready. Go, you, go!
Now, let’s cloth diaper our little wonders!


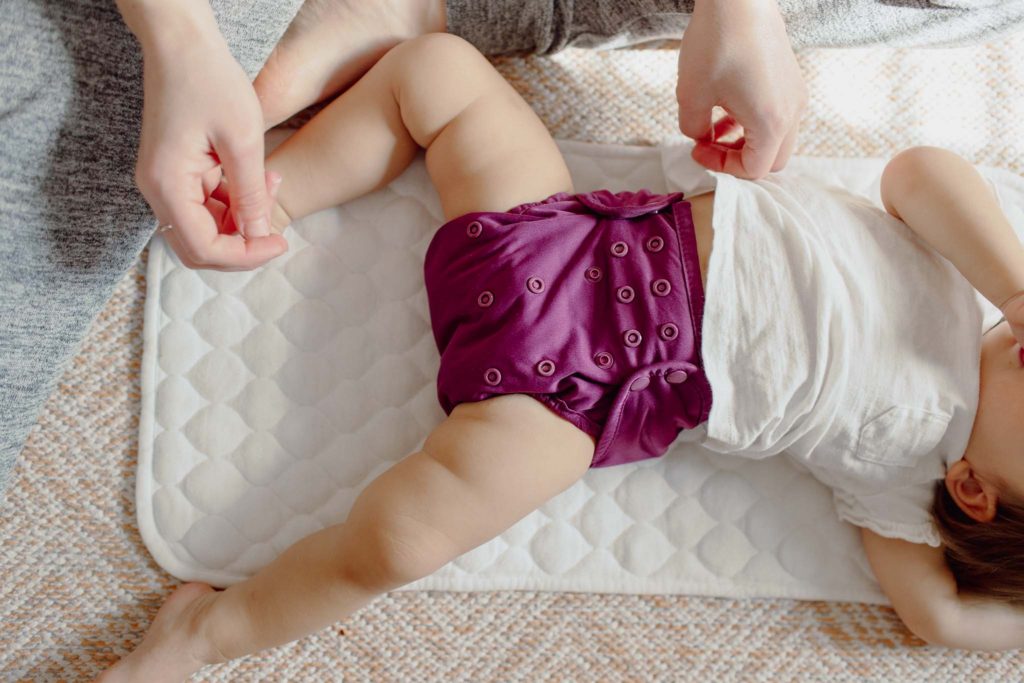
5. Put a Cloth Diaper on Baby
This can perhaps be the most difficult step at first – haha! But that is good news because it is easy once you do it once. Depending on the diaper style you choose and the size of your little wonder, your diaper will go on slightly differently, but overall the same as a disposable.
All of my cloth diapers are one-size, meaning they have LOTS of buttons to adjust their length and width as baby grows all the way from 8-35 lbs. Miraculous, I’d say! At first they looked like a foreign object, but then upon inspection I figured them out.
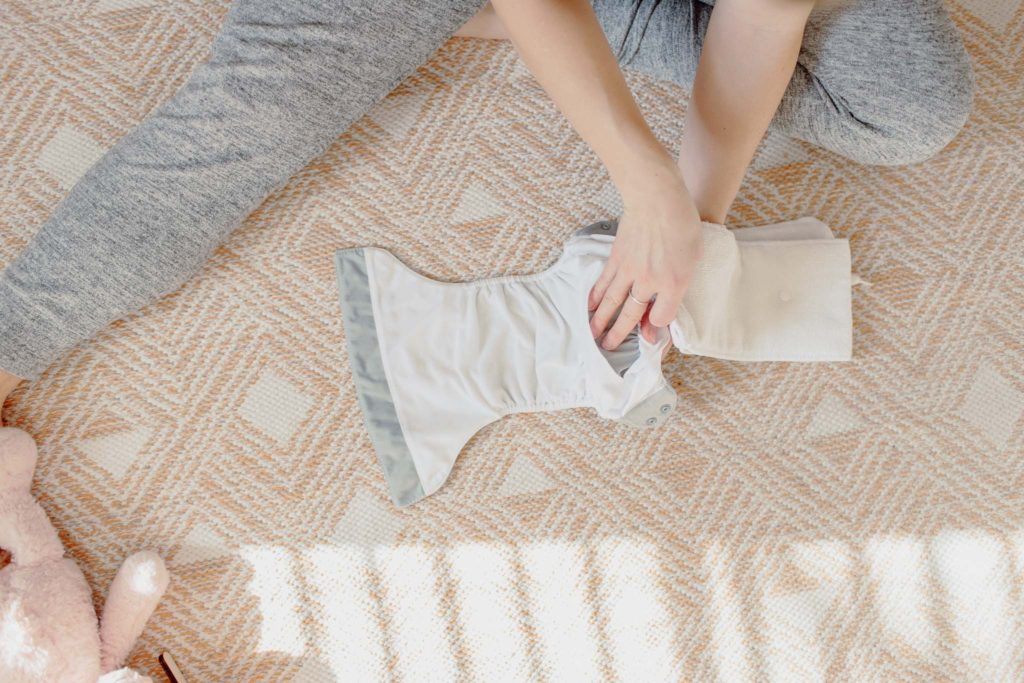
When putting a diaper on her for daytime play right now (16 mo.) I use one thick insert and one thin insert in my pocket diapers. Aka: what my bumGenius Original 5.0 diaper came with. For nighttime I use two thick inserts or lately I have been using a disposable diaper – gasp! 😉 – because I found it helped her sleep through the night. I sort of do a hybrid routine of cloth and disposables. Why? Because in disposable I think can’t feel the wetness as much as in cloth diapers, which is a plus right now for me sleeping through the whole night. However, her being able to feel wetness more easily in cloth will be a plus for potty training I hear! I will have to update you.
6. Change a Dirty Cloth Diaper
After a few hours of sleeping, eating, playing and POOING it’s time for a diaper change!
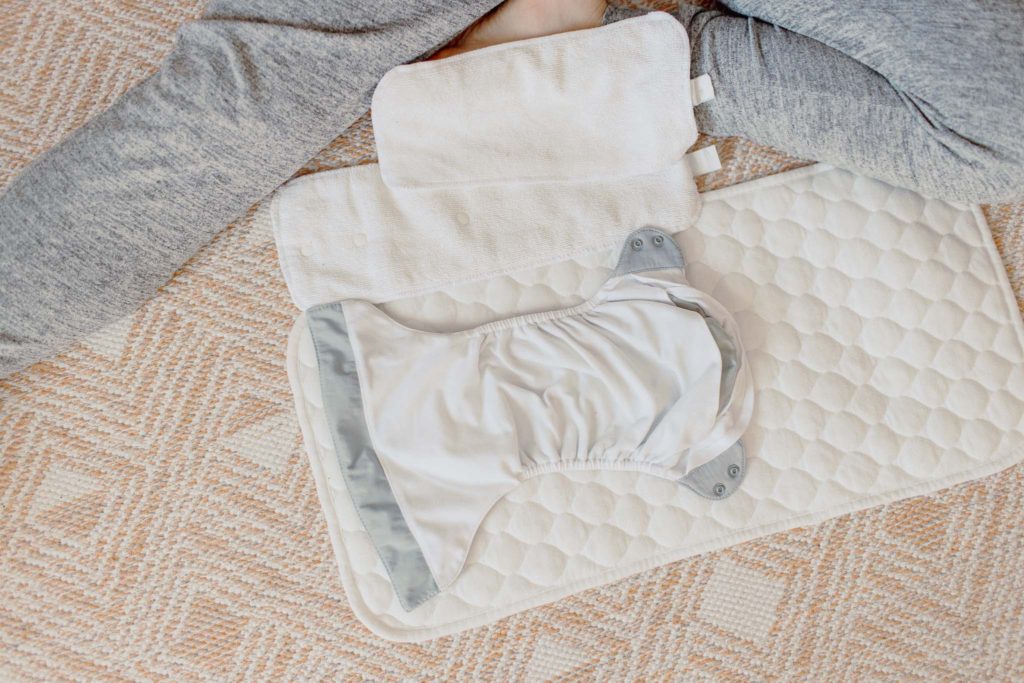
- Lay baby down on your changing pad or a cloth on the floor – I have loved
BlueSnail Bamboo Quilted Changing Pads for at home and on the go.
- Unbutton or un-velcro the diaper and see what’s inside – Eek!
- If it is only wet or if your baby pooed but is solely breastfed or formula fed, just wipe baby off with a wipe or two, and throw all of it into your diaper pail and close the lid.*
- If baby is eating solid food and there is a poo, finish putting a clean diaper on baby – step 5 😉 – put them in a safe and secure place while you head to the bathroom and toss, spray or swish the poo off in the toilet or trash.*
- Continue this process over and over and over (Haha!) for two to three days or until you only have about 5-7 diapers left – that is about one day’s worth of diapers for me.
*Once in a while I use Biokleen Bac-Out Enzyme Stain Remover to spray a dirty diaper and help pee and poo break down in perhaps a less smelly or pervasive manner while it waits to be washed out.
***Will I have to touch poo when cloth diapering?
I mean anything can happen with babies and their poo… blowouts, squirming hands, smearing it on a wall. I’ve experienced some and heard a lot. But when it comes to my experience with cloth diapers, the truth is that you are more at risk of touching poo particularly when you are needing to pray it off the diaper into the toilet, but it can be avoided, especially if you are vigilant! And if you are really against touching poo – get those disposable diaper liners.
7. Wash a Load of Dirty Diapers
Your diaper brand probably has washing instructions that came with the diapers or are on their website. So, go check that out first.
Also to note, you may be someone who only has a laundromat accessible and though harder, you can still cloth diaper. In this case I would get a large wet bag with a zipper for the dirty diapers so they can be all sealed up on their journey to the laundromat. Additionally, many large cities have cloth diaper cleaning services that pick up and drop off your cloth diapers right from your home.
How I wash my cloth diapers:
- Open the diaper pail and take out the whole pail liner bag of dirty diapers. This can be a smelly moment, but it will be over soon.
- Take some all purpose cleaner and spray the inside of your diaper pail or and wipe it down with a cloth. Throw the cloth in the bag with the dirty diapers
- Take the bag to your washer and dump them all in – no need to pull out or separate inserts and covers. The wash cycle does that for you! PRAISE GOD.
- Pre-rinse diapers with a large, cold rinse-only cycle.
- Add one capful of your cloth-diaper-safe laundry detergent to the washer
- Wash diapers with a medium, hot, super-wash cycle WITH an extra rinse.
- I do a medium or even small wash setting depending on my diaper quantity because this allows the diapers to agitate against each other more, scrub stuff out and save water. The extra rinse just makes sure everything is fully rinsed out.
Those dirty diapers are clean! How easy was that? Way easier than you thought, right?

8. Hang Dry Your Clean Diapers
I rarely use my dryer for cloth diapers – only a couple times when I was rushing around and forgot to hang dry them and needed a clean, dry diaper soon. This saves you a lot of money. Take your clean diapers and hang them up preferably outside in the sun – weather permitting – or on a drying rack inside. I keep this one outside and this one inside.
What about those poo stains?! Even when your diapers are clean, there can be big yellow poo stains left behind. Especially in the first year of baby’s life before their poo becomes more solid and easily tosses into the toilet with no stain left behind. What do you do? Put it in the sun and watch a wonder happen. I was semi-obsessed with watching this happen when I first started cloth diapering. I tell you, after a few hours in the sun, those stains DISAPPEAR. Even when weather outside is bad or cloudy, you can hang your diapers up on the drying rack beside a window and stains will still disappear to some extent!
9. Restock Your Storage Cart
Take your wonderfully clean cloth diapers and put them away (or leave them in a pile on the baby nursery floor for way too long like I do!) Repeat this process from Step 2 and you are a cloth diapering master.
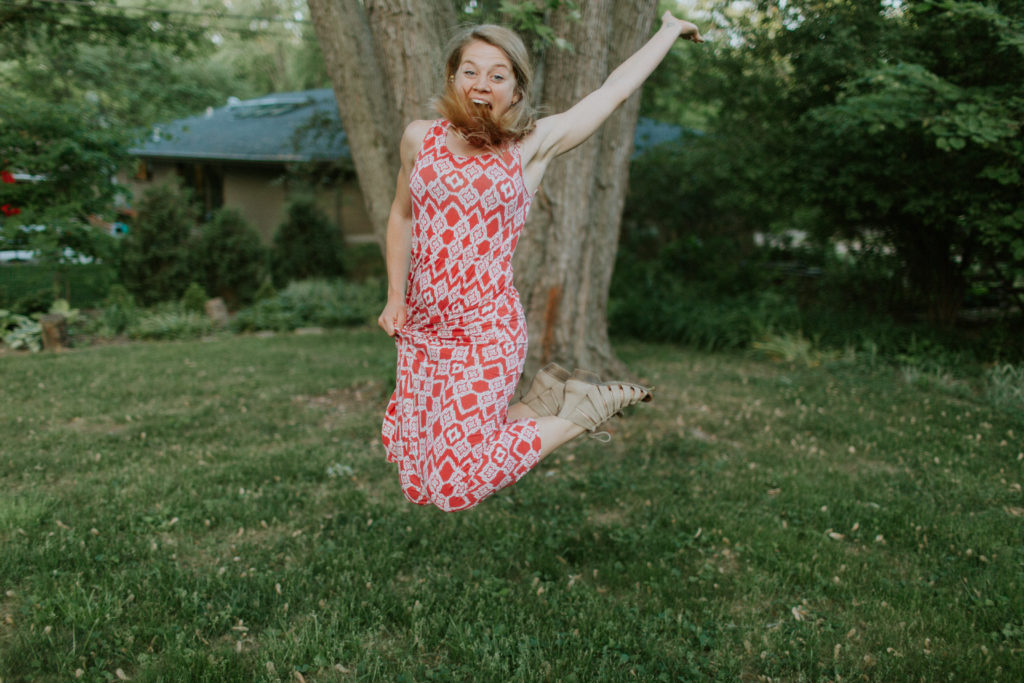
10. Do a Celebratory Dance and High Kick The Air
Because you did it – you are doing it! You are cloth diapering and…


Upkeep of Cloth Diapers Throughout the Year
Stripping Cloth Diapers


You want me to what?! Strip them, yes.
Every six months your cloth diapers will need a deep clean or anytime they come out of the wash still smelling funky. This deep clean is called “stripping”. You want to check your diaper brand’s instructions first, but the process is very basic and involves washing your cloth diapers like normal but with some dish soap and bleach (or a bleach alternative) and a couple extra hot wash cycles. My process:
- Gather all my cloth diapers, dirty and clean (I keep one on baby or put her in a disposable)
- Put them in the washer, pail liner included
- Large cold rinse cycle
- Large hot wash cycle with
- Additional large hot wash cycle
- Additional large hot wash cycle if there are still suds from the dish soap, otherwise I just do a cold rinse cycle here
- Hang out in the sun or inside to dry
How Do I Dry Cloth Diapers in the Winter?
Most of the time I hang my diapers up on a drying rack in our basement. Occasionally if it is above freezing and I need to get a stain out with the sun, I’ll hang them up outside. Otherwise, another option is to hang them up on your drying rack by a sunny window and the stains will still disappear for the most part in even clouded sunlight. Amazing, huh?
You also can dry them on a low heat setting if you want or need, but that can almost double your cost of each load of diapers and obviously leaves more of a carbon footprint.
Check Out Some of My Other Articles on Cloth Diapering!
- Your Top Questions About Cloth Diapering Answered
- Top Ten Essentials for Cloth Diapering
- Does Cloth Diapering Take Too Much Time?
Shop the Blog!
Add these items to you list or to the must-have’s of your baby registry. Click any of the links above or pictures below to easily shop. As an Amazon Associate I earn from qualifying purchases. This can help me build up this site of wonder! Wouldn’t that be fun?!
 My #1 Favorite Made in USA + China |  My #2 Favorite |  My #1 Favorite Made in USA + China |
 My #3 Favorite |  My #6 Favorite |  My #4 Favorite |
 MY #5 Favorite |  My #5 Favorite |  My #3 Favorite |
 |  |  |
 |  |  |
 |  |  |
 |  |  |
 |  |  |
 |  |  |
 |  |  |
 |  |  |
 |  |  |
 |  |  |
 |  |  |
 |  |  |
 |  |  |
Want to Check Out Other Brands of Cloth Diapers? Go For It!
 Bambino Mio One-Size All-in-One Hook and Loop |  Bambino Mio 6 Pack |  Bambino Mio One-Size All-in-One Hook and Loop |
 GroVia |  Nora's Nursery |  Nora's Nursery |
 Smartipants |  Charlie Banana |  ALVABABY One-Size Pocket |
 Kanga Care Rumparooz |  Kanga Care Rumparooz |  Kanga Care Rumparooz |
 OsoCozy Prefolds + Covers |  OsoCozy Orgnaic Fitted Diaper |  SmartNappy Hybrid Diaper |
 MaMa Koala |  Haha Go |  Haha Go |


You May Also Like

Which Cloth Diaper is the Best? -.-. bumGenius vs. Thirsties -.-. Pros and Cons

Cloth Diapers: Help Save the Environment
