Unique Hexagon Photo Wall: Display Hundreds of Photos for Under $60
How can so much be held within the delicate boundaries of a piece of paper? It is the wonder of a photo! I want my home to be filled with wonder. So, I have photos all over my house and the intentions to display many more because each one truly does hold wonder.
And it helps to have an amazing photographer husband (love eyes).
But how do you display all these little wonders?!
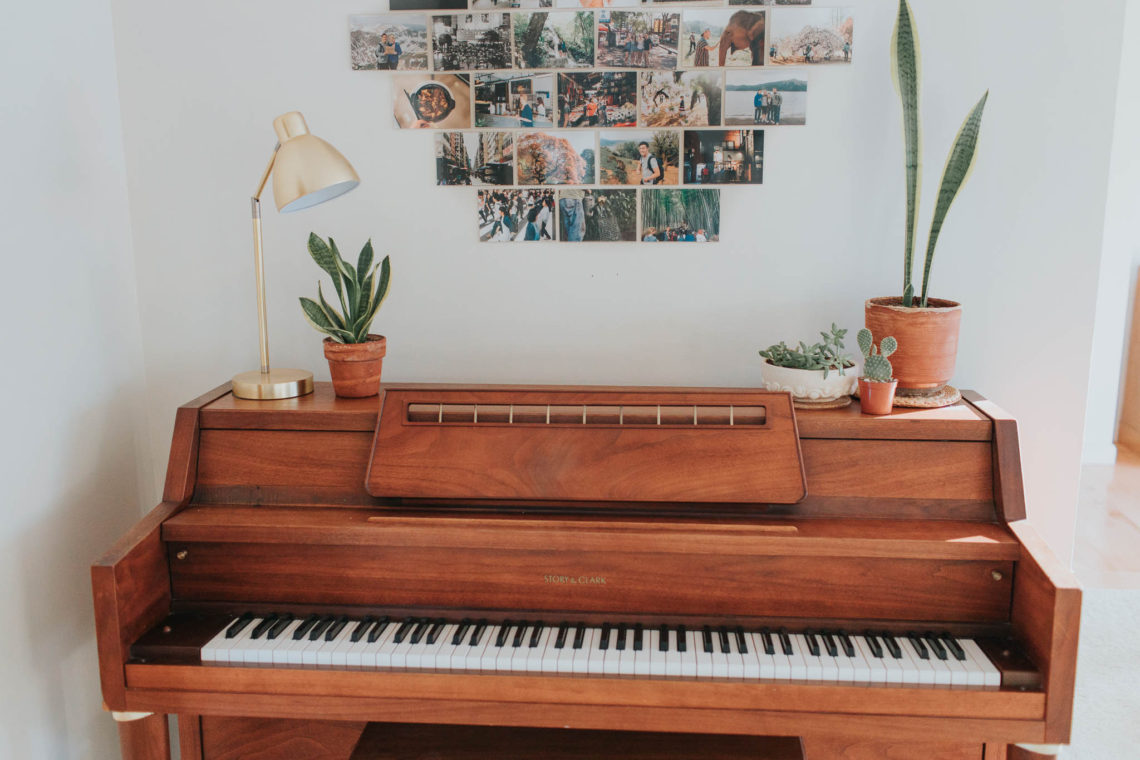
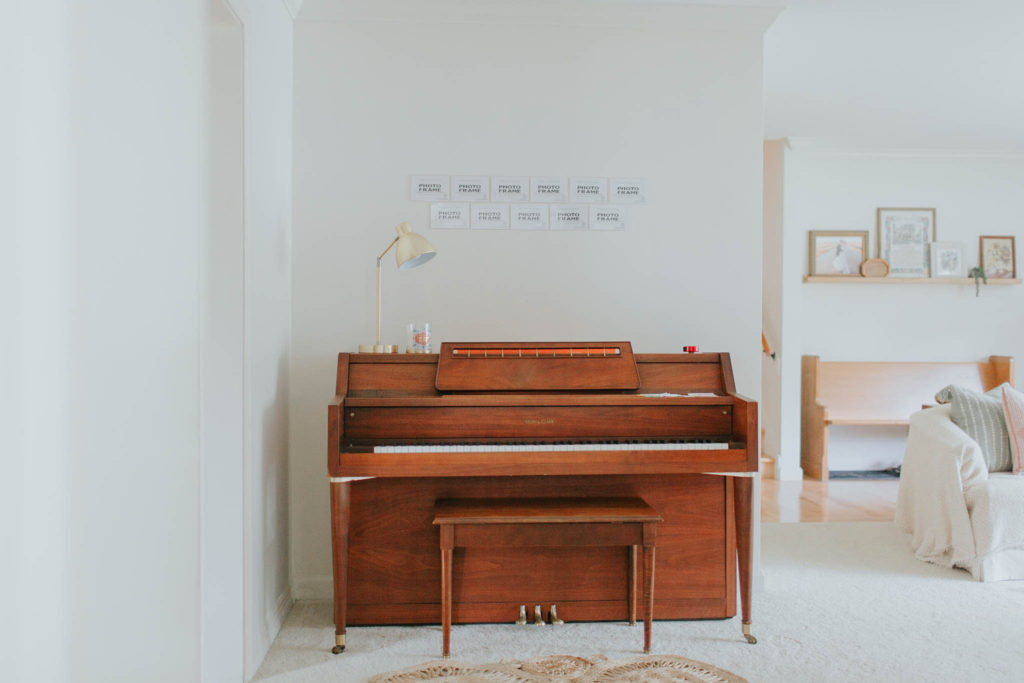
One bored moment during quarantine, I found myself staring at the space above our piano. I wanted a way to display lots of photos and to even change the photos periodically with the seasons. That way, I could display HUNDREDS OF PHOTOS over time – a living, breathing photo wall that grew and changed with our memories and family.
Shop the Blog!
Want to shop this blog and make your own unique photo wall?! Scroll to the bottom to find all your supplies and home decor ideas for your new space like this one.
This post contains affiliate links. As an Amazon Associate I earn from qualifying purchases. This can help me build up this site of wonder!
I thought, what if I could do the same thing, but have them more formally framed?! What if I could change them without ripping paint off with each piece of tape?!
A game changer.
Enter: crazy Amazon search.
Frames….
“Easy change” frames …
(These are actually really cool, they can hold up to 50 items inside the ONE frame!) …
Clear frames…
Ooooo! Wall Mount Acrylic Sign Holder???
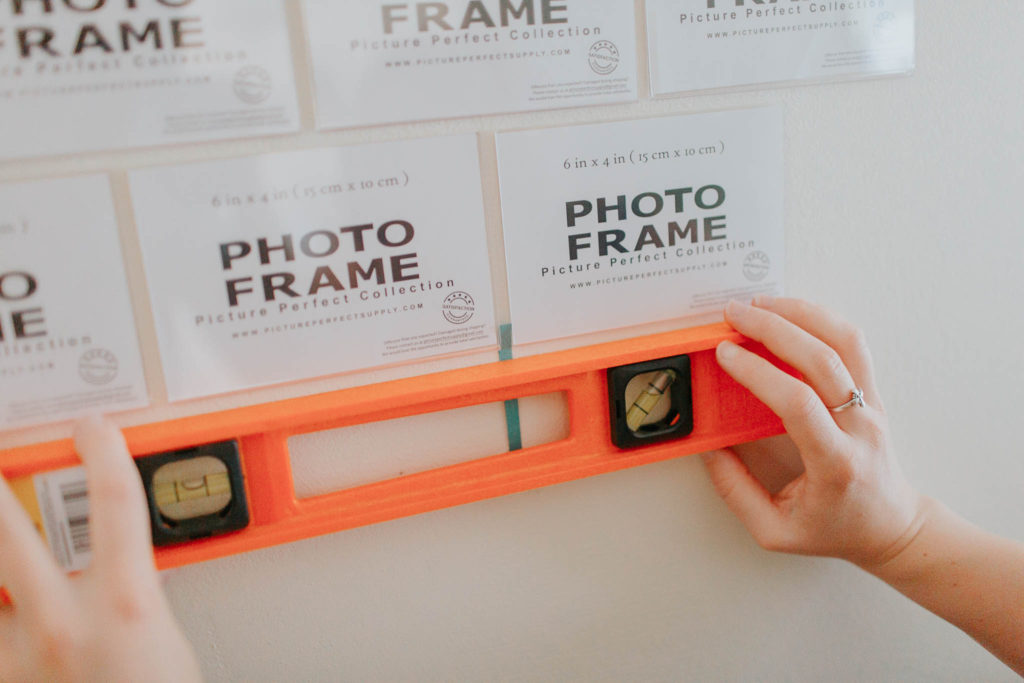
WHAT?! Who would have thought, but they work perfectly for what I wanted! And were cheap for the pack of 10 – only $18.

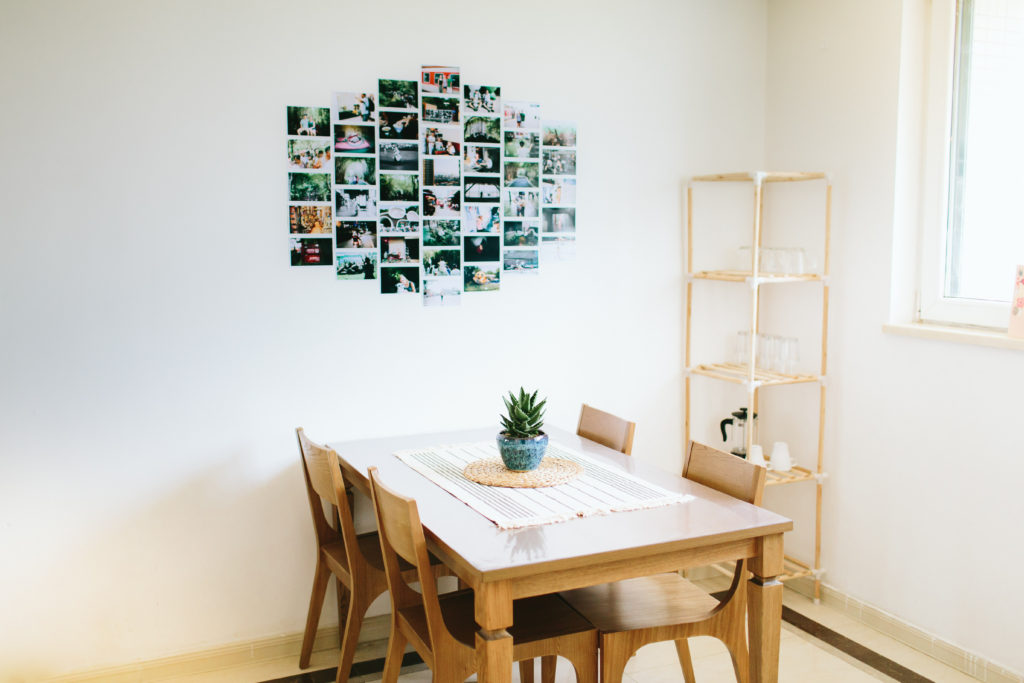
They stuck up on the wall so easily AND it is also very easy to take 4×6 photos in and out. You could even do post cards, notes, a piece of art spread out over 30 frames… the possibilities are endless!
Let’s MAKE IT.

What you will need:
– your wonderful wall space
– 30 4×6 wall mount acrylic sign holders (3 packs of 10)
– pencil
– level
– small piece of cardstock/cardboard
– tape measure


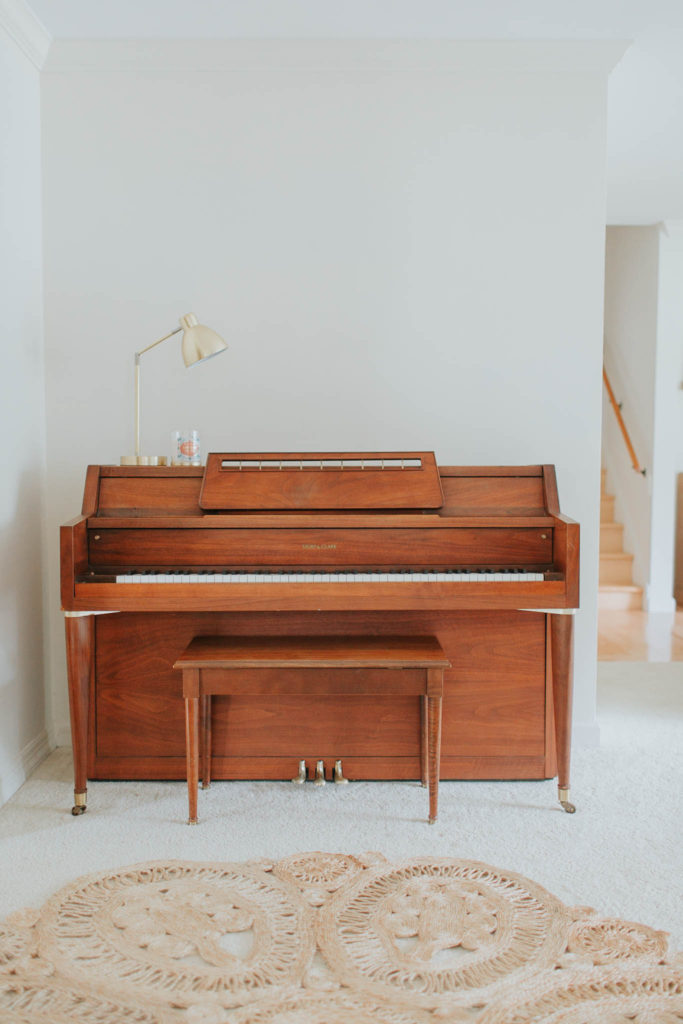
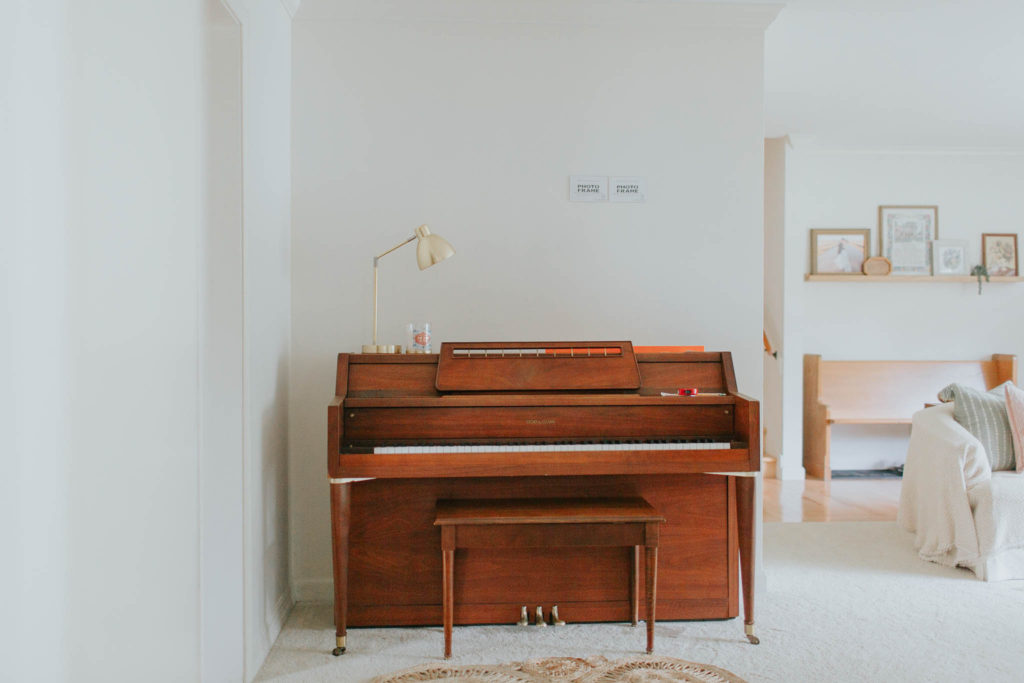
I had thrifted this beautiful piano for $100 in the nick of time from Bloomington ReStore just days before everything shut down last spring!
I LOVE shopping here – I have found the greatest deals and it helps our local community! Check out your local Habitat for Humanity ReStore!
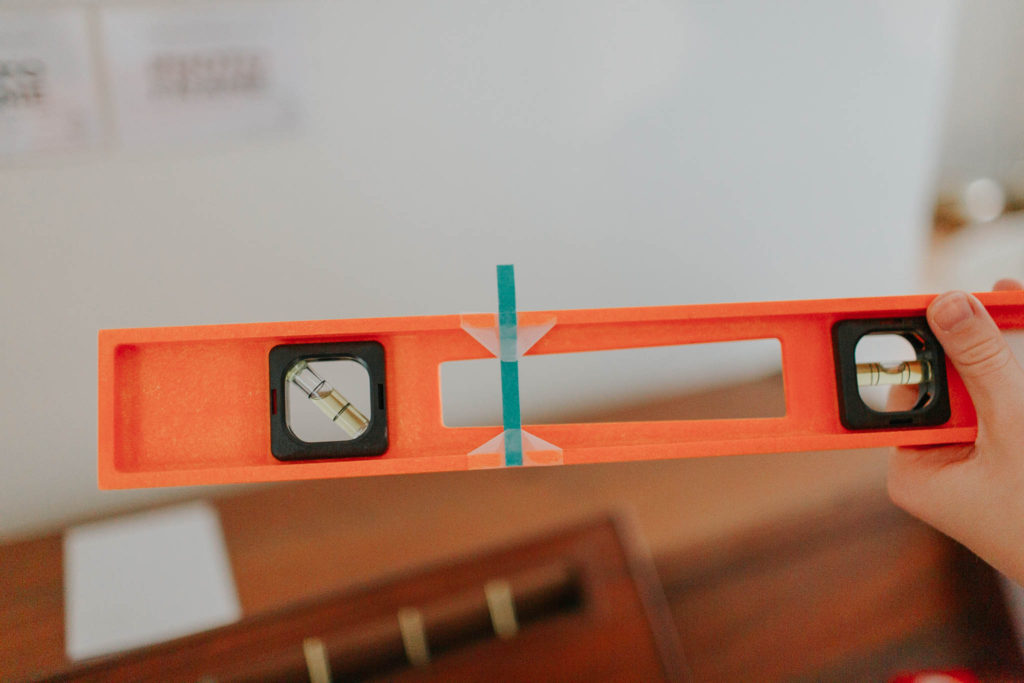
Take your small piece of cardstock/cardboard and cut a little strip about 1/8″-1/4″ and tape to one side of your level. You will use this as a spacer to space your photo frames apart.
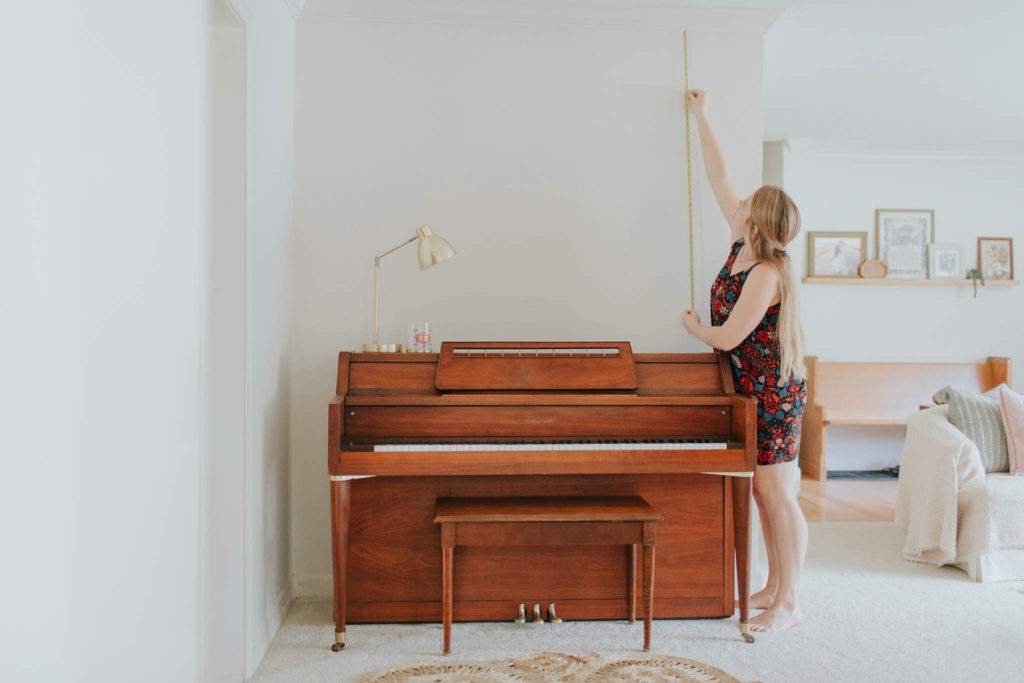
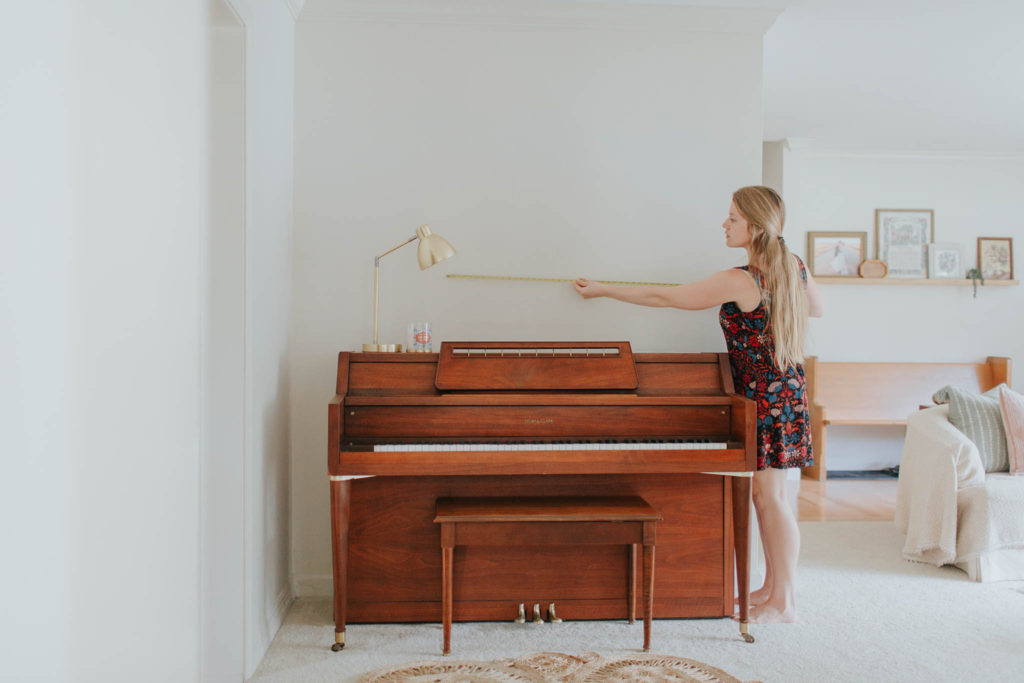

Measure your space’s height and width. With your pencil mark the exact middle.
For example, if your wall space is 6′ wide, make a mark 3′ in from the side and if your wall space is 5′ tall, make a mark 2.5′ up where it crosses your other mark.
*Wall space = the area of wall you want your photo display to be centered on. This does not exactly mean the height and width of your whole wall. My wall space was the area of wall above my piano.
Peel the backing off of the 3M stickers on the backside of a frame and set aside.
Your level should have your space marking cardstock/cardboard piece attached to it. Put that space marker right on the exact middle mark you made on your wall.
Make sure the level is leveled.
Take your frame you set aside and stick it on the wall to the right side of the space marker.
Two more frames will be hung in the same manner to the right of this and three more frames will be hung to the left side of your exact middle mark, making your exact middle mark the middle of this row of six frames.
Continue to use your level and space marking piece attached to it to do the following rows above and below, checking that you hang each frame level and evenly spaced.
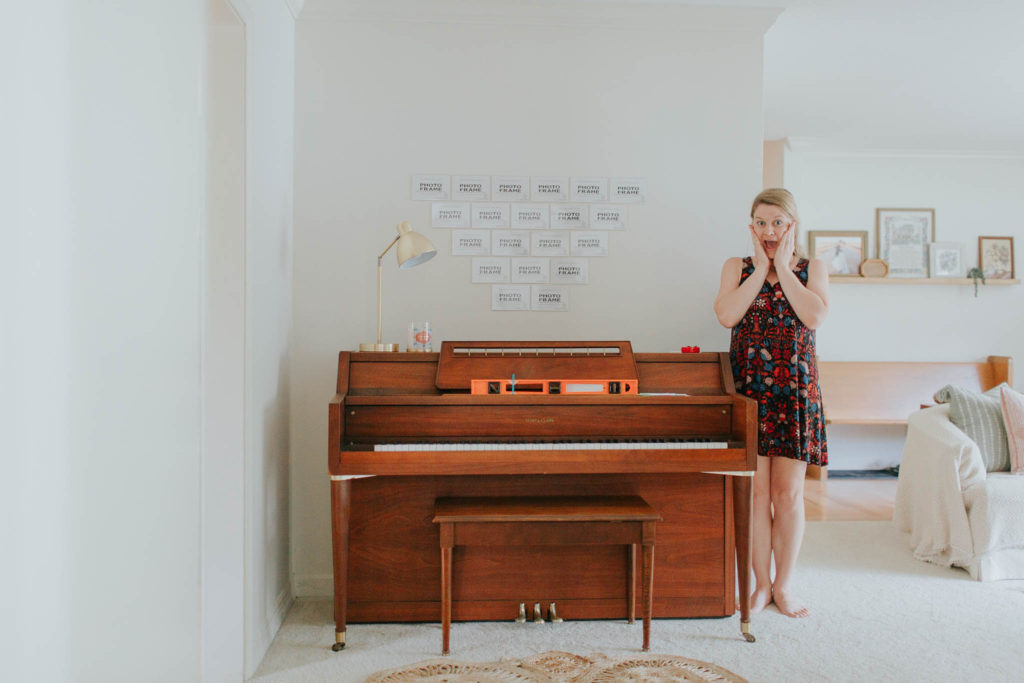

Whew, we did it. EEEeekkk! Just look at it coming together!
Now, the best part is choosing which photos to display!
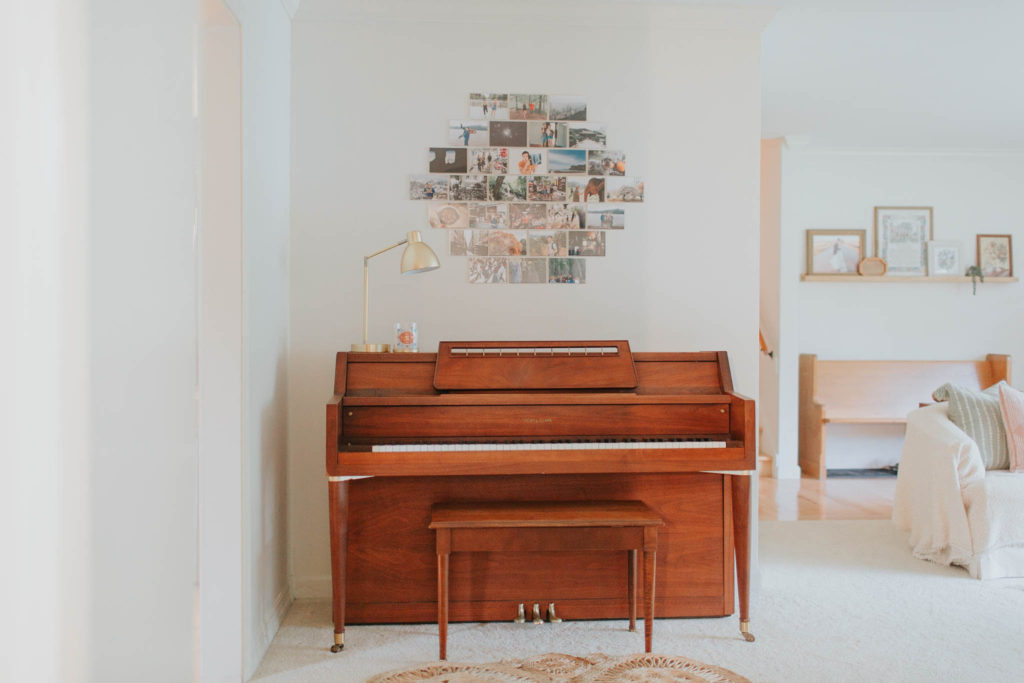
But you know that pressure you feel to choose which photos to frame? I didn’t feel that because I could choose 30 to display at a time and I knew I could easily change them. I love this photo wall!


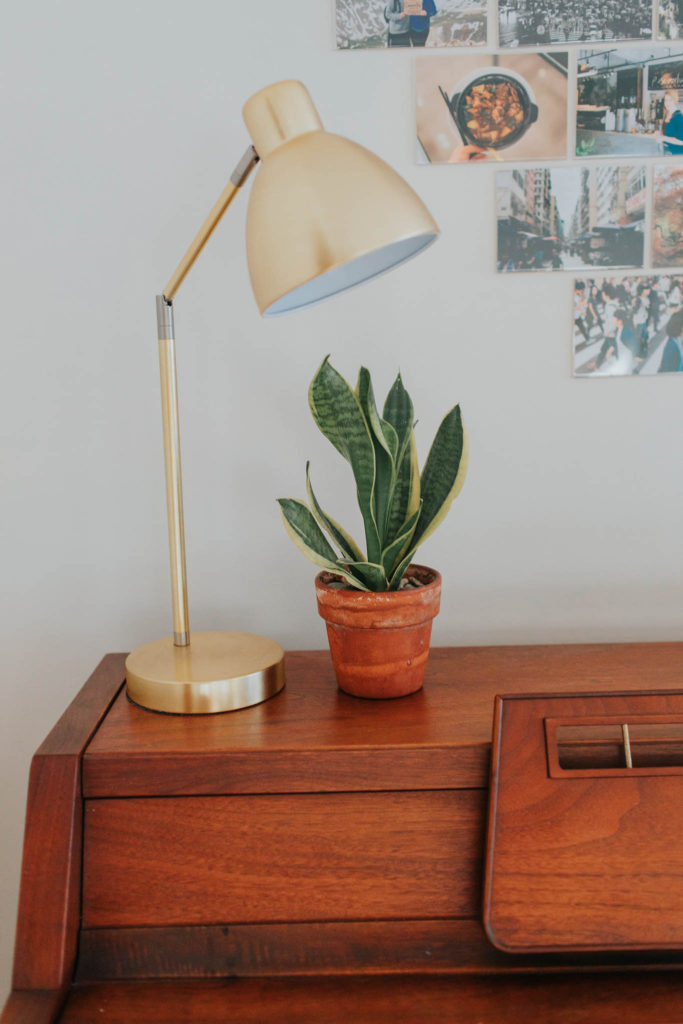
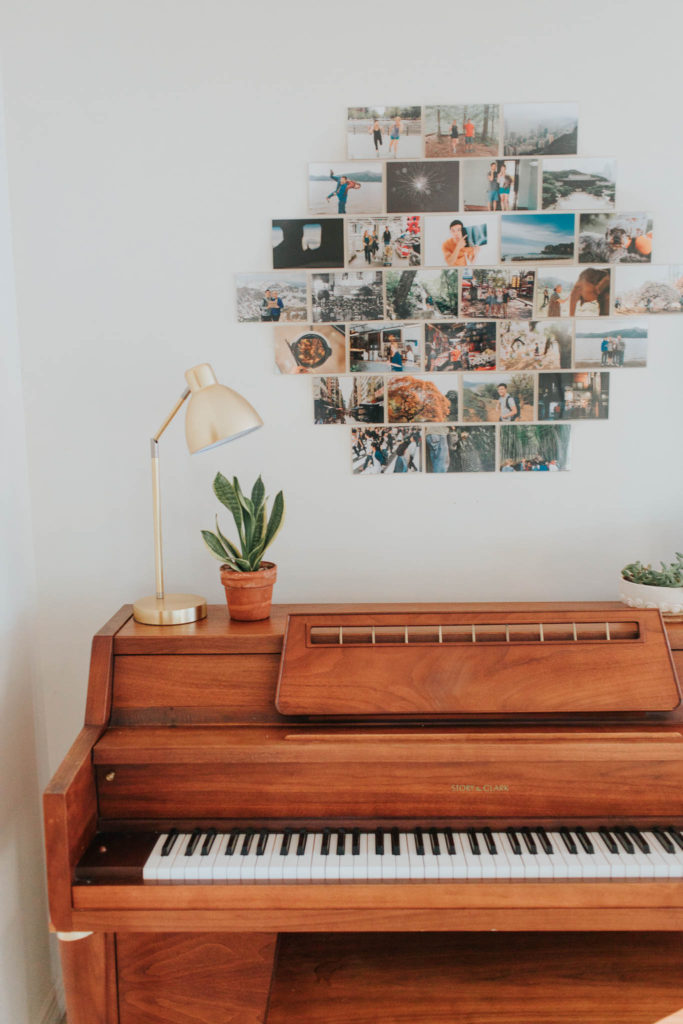
Some finishing touches and of course, PLANTS, bring it together. I wanted to choose some items with both height and texture to balance and frame the photo wall.
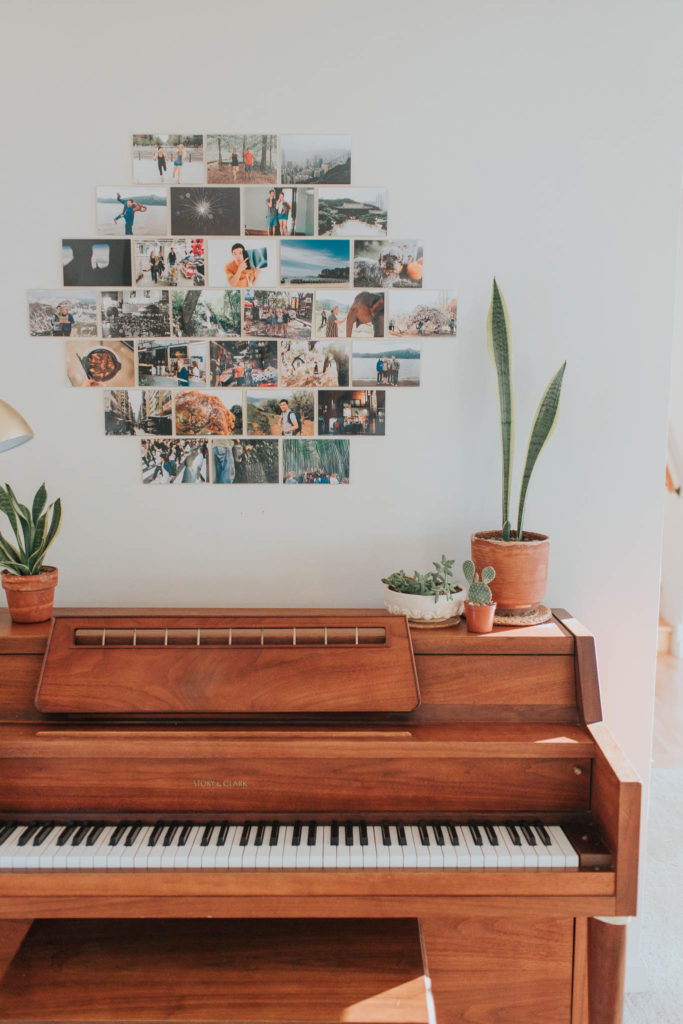

You did it! You made a unique, living, breathing photo wall for all those wonders captured in delicate paper bounds.
Shop the Blog!
Click any of the pictures below to get started on your own space. But don’t forget to check out your local Habitat for Humanity Restore and thrift shops!


